A natural-looking finish starts with your technique
Coverage and thickness are not the same thing. How you prepare your skin, how much product you use and where you touch up all affect the finish. Adding another layer everywhere is not always the answer to one uneven area.
This guide helps you observe, choose and apply more precisely. The aim is not flawless skin, but fewer visible edges, a comfortable finish and a complexion that still looks like you.
Before you begin: look in the mirror from a normal distance and decide which areas you want to even out. The rest may not need the same coverage.
01 — Prepare your skin before adding coverage
If makeup catches on dry patches, another layer can make them more noticeable. Apply a small amount of your usual moisturiser to clean skin and wait until the surface is no longer slippery before applying makeup.
Check by touch rather than by the clock: your skin should feel comfortable, without excess cream on the surface. If products start pilling, avoid rubbing more. Gently remove the excess and start again with less.
Avoid: layering generous amounts of several skincare products just before makeup. Follow your sunscreen’s application directions; makeup does not replace it.


02 — Compare shades between your jaw and neck
A shade that looks right on your hand can contrast with your face. Try small touches near your jawline and check the transition towards your neck in natural light, away from direct sun.
Look first at depth, then undertone: too pink, yellow or orange? Choose the closest blend. The image illustrates the comparison technique, not Sanelya’s exact shade chart.
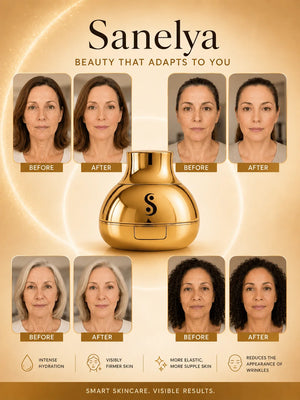
With Sanelya: Européen, Méditerranéen and Africain are product shade names. Use your actual complexion and the product guide, not your background. Adding more cannot correct a poor shade match.
03 — Tap lightly instead of dragging the applicator
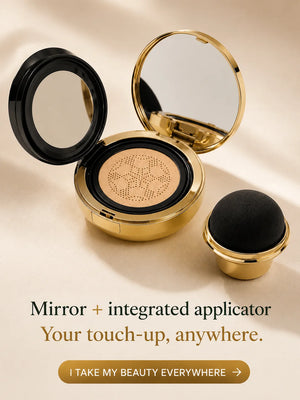
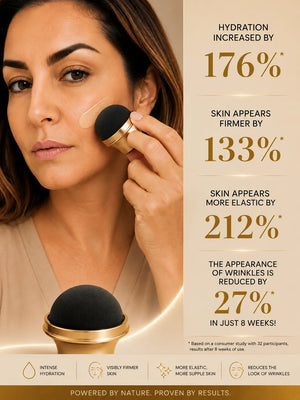
Pick up a little product and apply with small presses to the areas you want to even out. With the Sanelya applicator, work gradually rather than reloading at every tap.
The movement is short and gentle: place, lift, move. Continuous rubbing can shift the product and leave streaks. Use what remains on the applicator around the nose and towards the jaw.
Your visual guide: skin remains visible between passes. If you use too much, blend with a clean tool without adding product. Clean the applicator regularly and let it dry before putting it away.


04 — Step back before adding more
Up close, normal skin texture looks much more noticeable. Before adding product, step back and look at your whole face in soft light. Check around the nose, jaw and transition towards the neck.
If one small area still bothers you, add a touch there and blend the edges. If the rest looks right, it does not need a complete second layer.
Remember: makeup evens colour; it does not physically erase pores or folds. Aim for a balanced finish at a normal viewing distance, not texture-free skin under close inspection.
05 — Blot shine before touching up
Applying more makeup over a shiny area can build up product and oil. Start by gently pressing a clean tissue against the area without rubbing or wiping the whole face.
Then check what is actually missing. Add a tiny touch only where necessary. An area that still looks even does not need to be reworked.
Your checklist: prepare, compare shades, tap, step back and touch up only where needed. A compact with a mirror and applicator, such as Sanelya, can make these steps easier away from your bathroom.